Which Welding Position Is the Easiest?
Understanding Which Welding Position Is the Easiest
If you are just starting with welding, you might wonder which welding position is the easiest. Many beginners find that practicing the flat welding position first helps build strong fundamentals safely. Instructors often compare welding positions to stepping stones, progressing from simpler setups to advanced ones. Mastering the flat welding position lays a solid foundation before moving on to horizontal, vertical, or overhead welding.
Learn the four main positions
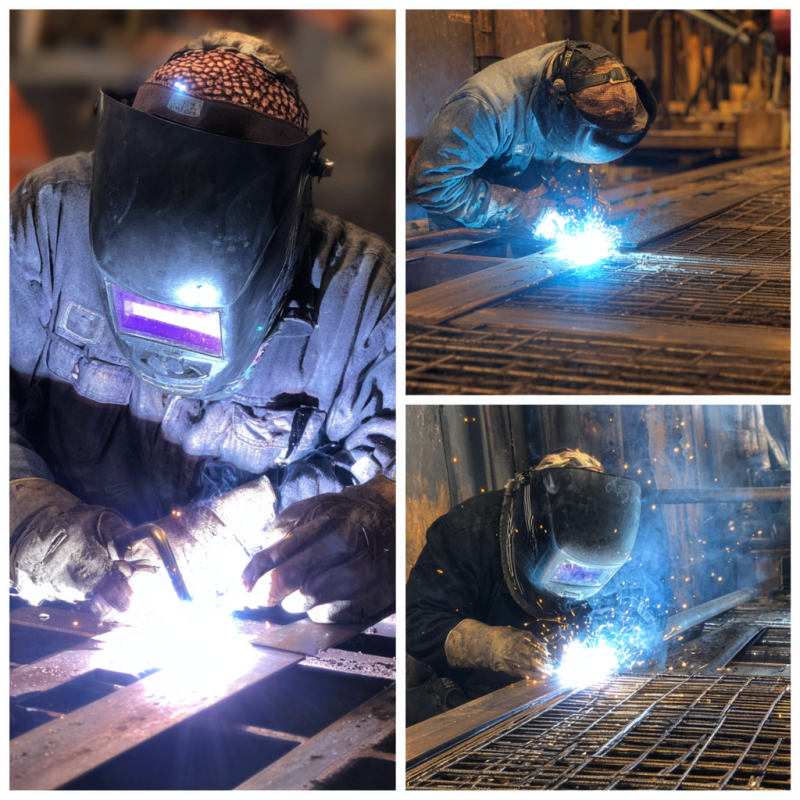
Welding positions describe how you hold and move the workpiece or your welding torch when joining metal. You will often see them labeled “1G,” “2G,” “3G,” and “4G,” or referred to as flat, horizontal, vertical, and overhead. Some routes also add “5G” and “6G” to cover pipe welding angles, but for beginners, the main four are your first focus. Each position changes how gravity, heat, and technique come together to create a strong weld.
- Flat (1G): The metal is placed in a horizontaal plane, and you apply the weld from the top. This is usually the simplest place to begin.
- Horizontal (2G): The workpiece remains horizontal, but you move the torch along a more angled track than in flat welding.
- Vertical (3G): You run your weld from bottom to top (or top to bottom) on a vertical surface, which tests your ability to manage molten flow.
- Overhead (4G): You weld from underneath, which is notoriously difficult because molten metal wants to drip down on you, requiring refined control.
For more details on welding positions, check out different weld positions or how pros get vessel quotes fast.
Learn about modular skids for safe and ergonomic setups.
Why flat welding is beginner-friendly
Many instructors agree that the flat position is the easiest option for new welders, making it ideal among beginner welding positions. The level surface allows you to focus on technique without chasing the weld pool. In a 2021 survey, nearly 70% of apprentices said flat plates felt more intuitive. Practicing the flat position helps you control spark angles, torch speed, and bead consistency while developing seam uniformity. Over time, this foundation eases the transition to horizontal and vertical positions. Mastering these beginner welding positions also builds confidence before tackling more advanced setups like overhead or pipe welding.
Benefits of starting flat
- Greater control over the weld pool reduces mistakes.
- Lower chance of spillage or drips.
- Clear visibility of your welding arc.
- Easier to build muscle memory for the torch angle.
Read about Red River’s pressure vessel manufacturing and American tank fabrication for applications of flat welding.
Explore prefabrication solutions to improve welding practice setups.
Transitioning from flat to advanced
As you progress, you will likely move on to horizontal, vertical, and overhead welding. Although the flat position remains your foundation, it is valuable to understand how each new position adds its own set of challenges and opportunities.
Horizontal (2G)
Tilt the torch sideways and weld along a joint parallel to the floor. Control side-to-side pooling and adjust voltage settings. Check out 2G welding tips to smooth your transition.
Vertical (3G)
Run your bead upward or downward along a standing surface. Techniques like the “stitch” or “whip” help manage molten metal. Visit 3G welding position insights for guidance.
Overhead (4G)
Welding from underneath is a major milestone. Precision and safety are essential. Protective gear such as face shields, gloves, and welding jackets is a must. Learn more about overhead welding applications and pressure vessel sizing.
If you aim to pursue overhead welding, it helps to learn the best techniques for controlling spatter. You may also read about test requirements by checking how to pass 4g welding position test. Like vertical welding, overhead demands refined management of the weld pool. It is challenging, but it can open the door to more specialized or higher-paying projects.
Practice tips for starting welders
You do not have to rush through these positions. In fact, we recommend taking it slow. Complete mastery of the flat position can help you build habits that carry into horizontal, vertical, or overhead welding more easily. Here are a few tips to help you gain confidence early on:
Start with the flat or 1G position.
- Put your metal plate on a stable workbench so you can stand comfortably and maintain a relaxed stance.
- Use the recommended amperage settings. Aim for a sweet spot where the metal melts smoothly without creating excessive spatter.
- Use consistent torch angles. Many pros suggest around a 15-degree tilt from vertical.
Watch your travel speed.
- If you notice too much buildup, slow down. If you see holes or uneven edges, speed up. Practicing short beads at first builds awareness without wasting too much material.
Inspect your welds carefully.
- After each pass, observe the profile of your bead. Is it nicely crowned, or lumpy? Are there gaps or holes?
- If possible, snap a quick photo so you can compare improvements over time.
Gradually add complexity.
- Once you feel comfortable with flat welding, move to a slight angle to mimic 2G. This is where you start leaning into horizontal territory.
- Practice short runs of horizontal welds, then evaluate your bead shape and spatter level.
- A 2023 workshop poll found that welders who spent a few extra weeks on flat welding had a 35% smoother transition to overhead tasks later on.
Use protective gear.
- Even though the flat position is simpler, you can still face sparks, fumes, or flash. Wear gloves, welding jackets, goggles or face shields, and a respirator if needed.
- Adjust your workspace for good ventilation.
Explore cryogenic storage guides for proper material handling.
Read about cryogenic liquids to understand thermal challenges in welding.
Move toward advanced positions
After conquering the basics, many welders like to challenge themselves with more advanced positions, including 5G and 6G pipe welding. If you plan to broaden your skills to pipes, you will often see references like 6g welding position or how to weld in 6g position. These can lead you toward certifications or specialized roles in industries like oil and gas, power generation, or construction.
What makes 5G and 6G unique?
- 5G typically means the pipe is fixed horizontally, and you must move your torch around it in a vertical or overhead arc.
- 6G raises the complexity further by positioning the pipe at a 45-degree angle, requiring you to weld in multiple planes simultaneously.
These advanced positions build upon the skills you develop in 1G through 4G. Following a detailed welding positions guide introduces you to new equipment setups, rod angles, and joint designs. Although they can feel daunting at first, this welding positions guide helps you gain versatility as a welder. Over time, you might specialize in a niche area or become a generalist with multiple certifications. Whatever path you choose, confidence in the flat position sets a solid foundation.
Understanding Which Welding Position Is the Easiest and Why
If you have been wondering which welding position is the easiest, the answer is typically the flat position. It allows you to focus on technique before dealing with gravity-related challenges. The flat position also helps you develop consistent welds, which directly translates to horizontal or vertical welding down the line. Above all, keep safety at the forefront of each session. Wear appropriate gear, set up a proper workspace, and remember that mistakes are part of the learning curve.
Learn more about Red River’s pressure vessels and processing tanks to see where welding skills apply professionally.
Explore modular skids and metal fabrications for industry applications.
Start Your Welding Journey Today
If you are ready to master which welding position is the easiest, begin with flat welding. With patience, practice, and the right safety measures, you can build the skills to advance confidently into any welding position.
Frequently Asked Questions
1. What are the different welding positions?
The different welding positions are flat, horizontal, vertical, and overhead.
2. How many types of welding positions are there?
There are six types of welding positions: 1G, 2G, 3G, 4G, 5G, and 6G.
3. Do I need to learn all welding positions?
Not immediately, but progressing beyond flat improves versatility and job opportunities.
4. Why start with the flat position?
It offers visibility, control, and safer practice conditions, making it perfect for beginners.
5. Which welding position is the easiest for beginners?
The flat position is generally the easiest, as it allows focus on technique without fighting gravity.
Key Takeaways
- Flat (1G) is the easiest welding position for beginners.
- Horizontal (2G) is the next logical step.
- Vertical (3G) and overhead (4G) are more advanced.
- Practice flat welding until 90% of your beads are consistent.
- Mastering the basics first makes advanced welding smoother.